
HTML Input types, audio and video Elements
A brief explanation about input types, audio and video tags


Table of contents
HTML Input Elements
The <form> HTML element with attribute action is used to create an HTML form for client input. The <form> element consists of different types of input types.
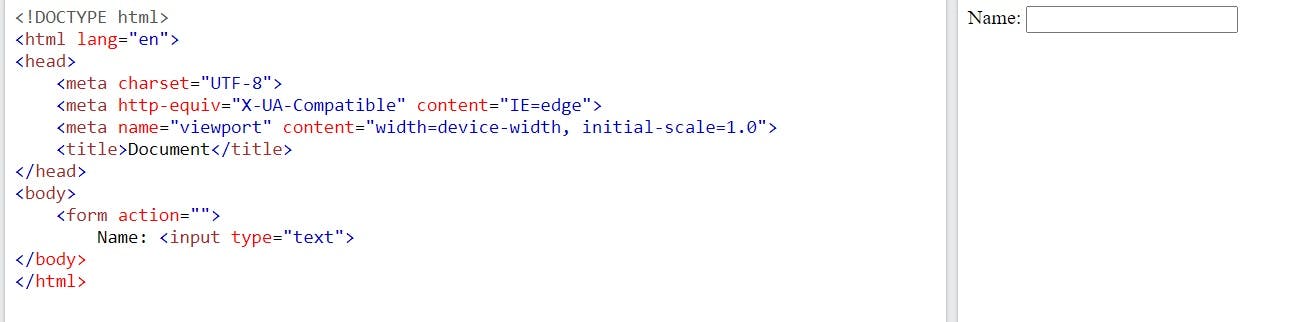
<input type="text">
It creates a single-line text to the input field.
<input type="date">
It is used to provide a date format to the input field.

<input type="email">
It is used to provide an email format to the input field.

<input type="number">
It is used to provide a numeric value to the input field.

<input type="password">
It provides a password field that the user can enter password securely.

<input type="submit">
It provides a button to submit the data filled in the form.
<input type="reset">
It provides a button to reset the data filled in the form.

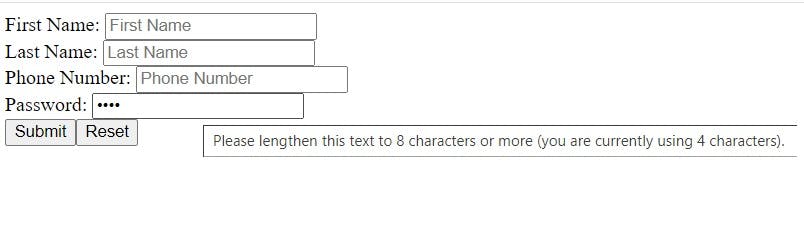
The maximum or minimum number of characters can be set up to this input text by using maxlength or minlength attributes.
The size attribute specifies the width (in characters) of an input field. The default value is 20.
The placeholder attribute defines a short hint that is displayed in the input field which describes the expected value of an input field.
The required attribute specifies that an input field must be filled in before submitting the form. Just like a mandatory field in the form.
The value attribute defines the initial value of the input field.
 <form action="">
        First Name: <input type="text" required placeholder="First Name"><br>
        Last Name: <input type="text" required placeholder="Last Name"><br>
        Phone Number: <input type="number" required placeholder="Phone Number" size="10"><br>
        Password: <input type="password" required placeholder="Password" minlength="8" maxlength="16"><br>
        <input type="submit" value="Submit"><input type="reset" value="Reset">
        </form>
The output is
<input type="radio">
It is used to provide a radio button to the input field.

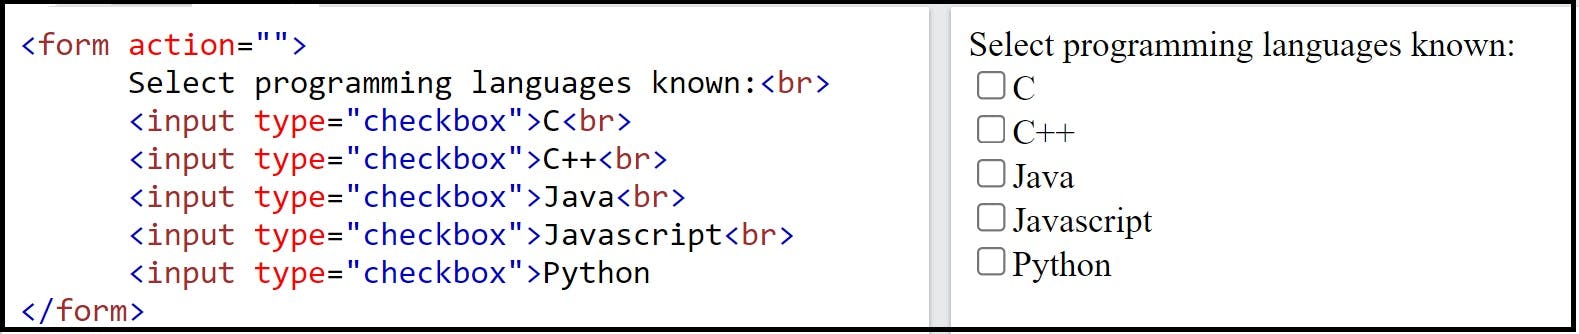
<input type="checkbox">
It is used to provide a checkbox to the input field.
<input type="button">
It is used to provide a button to the input field. It always comes with the value attribute. We use the value attribute to give the name to the button.

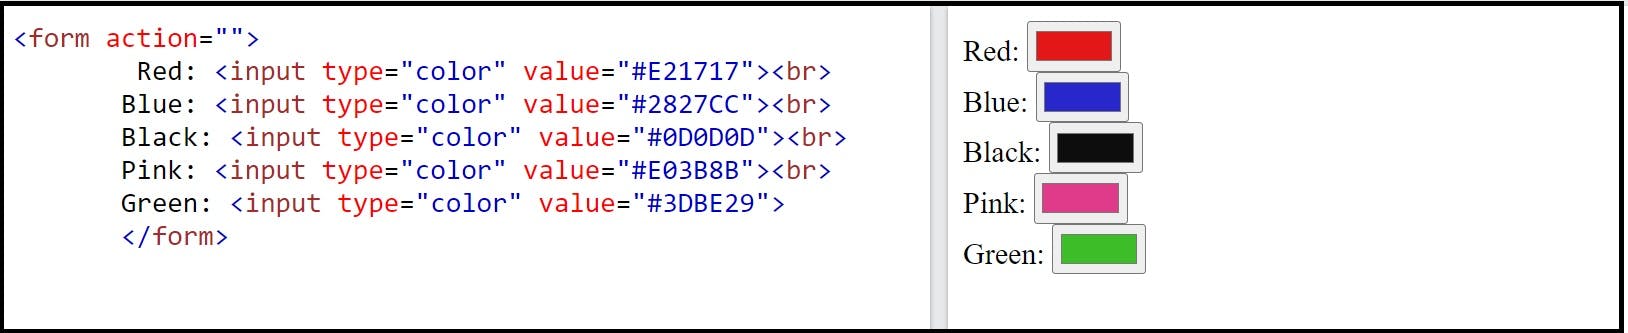
<input type="color">
It is used to give a color to the input field. We always use the value attribute to specify the color code. (Note: Use UI color picker for color code)
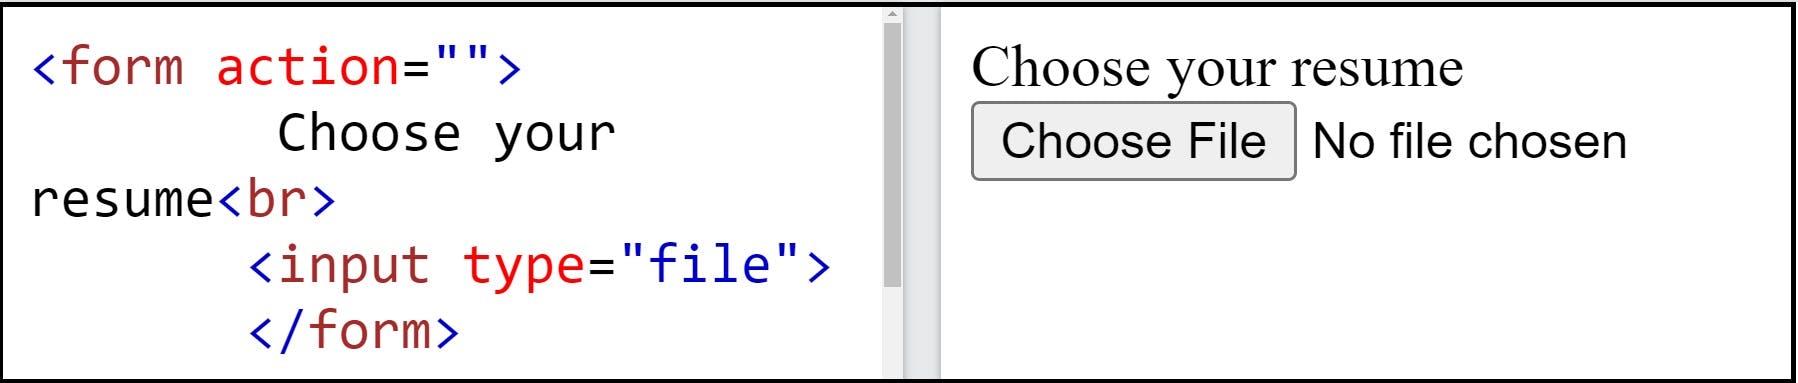
<input type="file">
It gives a file select field to the input field. We can browse a file to submit.
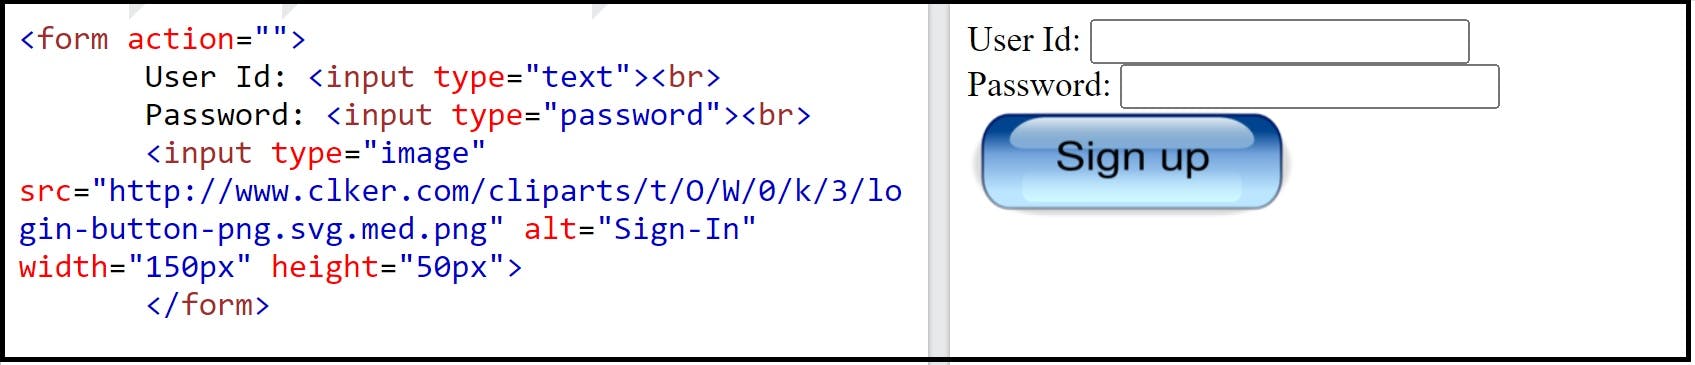
<input type="image">
It is used to create a submit option to the input field rather than text. We always use src attribute to define the path of the image. We can give values to width and height attributes to set the image view.
<input type="range">
It is used to give slider control to the input field. We can specify the range of the slider control using min and max attributes, and the value attribute to set the slider control to the given point. The step attribute is used to set the interval to the slider control.

<audio> Tag and <video> Tag
<audio> Tag
The HTML <audio> element allows the user to embed the audio content in a document. We can give one or more audio content, but the browser will choose the suitable one. The content in between the <audio> and </audio> tags is displayed in the browser that doesn't support the <audio> element.
<video> Tag
The HTML <video> element allows the user to embed the video content in a document just like the <audio> tag.
The attribute that we use for the <audio> and <video> elements is as follows
src: It defines the path of the audio or video content.
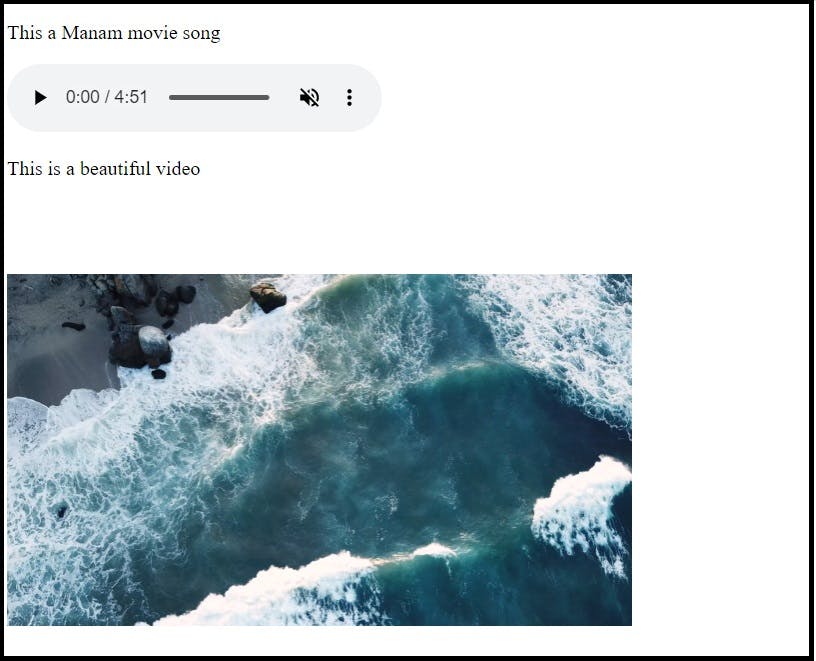
controls: It gives access to control the audio or video content like pause/resume.
autoplay: It specifies that the audio or video content will automatically start playing as soon as it is ready without waiting for the entire audio or video content will download.
muted: It specifies that the audio or video content should be muted while the browser displays the audio content.
loop: It is specified that whenever the audio or video content reaches its end point it will start again.
(Note: I use my local audio and video files for the example)
The output is
Thanks for reading my article. Have a great day :-)